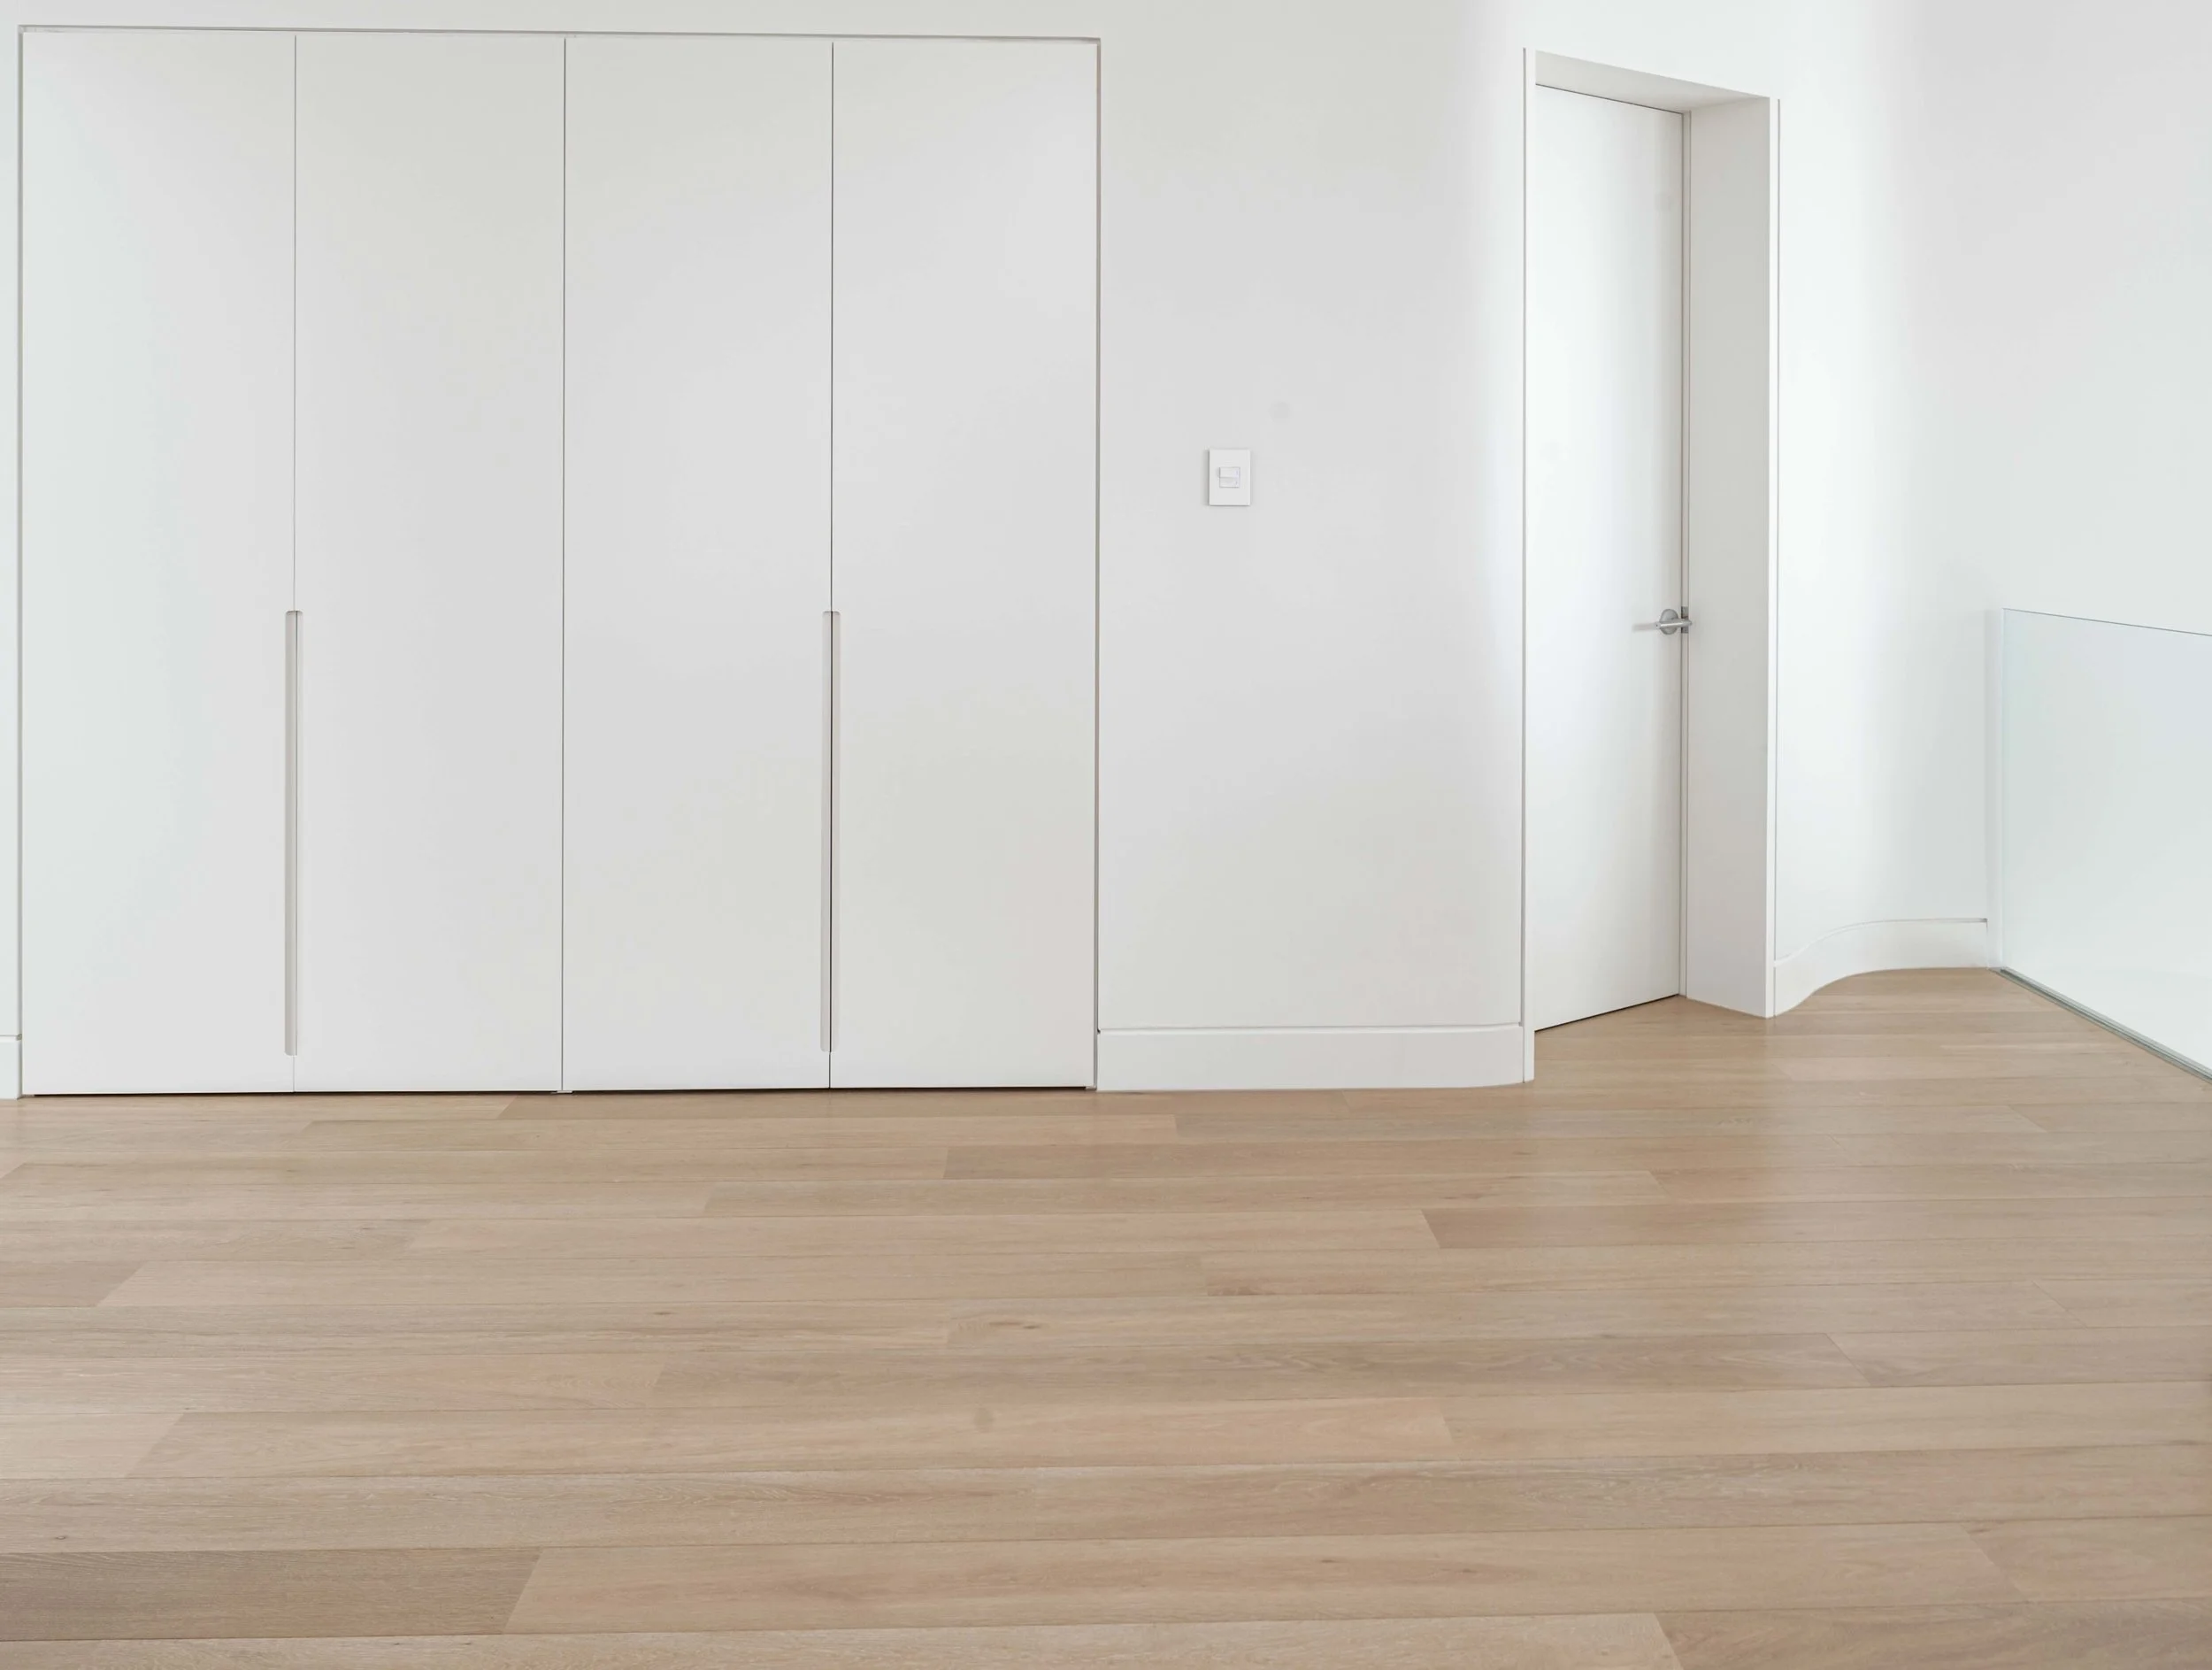
Frequently Asked Questions

Please find below a list of the questions we are most often asked about Engineered Flooring, Aspire Floors and our product range:

What is Engineered Timber Flooring?

What is Engineered Timber Flooring? Engineered timber flooring is built with floorboards that are made up of several pieces of wood. These pieces of wood are constructed from a multi-plywood of up to 12 layers of fine cut hardwood, glued together with softwood, and stacked in multiple directions. This creates a stronger more durable floorboard.

The use of slowly growing hardwood in the past is being replaced by the use of softwood plantation woods that grow quickly to maturity. Softwood is an excellent, sustainable choice offering comparable strength. Engineered boards retain the beauty of hardwood with an attractive top layer. Advances in technology have seen a great improvement in the quality and output of engineered timber flooring.

Why not Solid Wood Floor?

Wood is an organic material that is highly sensitive to the ever changing environmental conditions. It reacts differently to varying temperature and moisture levels. If solid wood flooring is placed in an extremely wet environment, then it will absorb some of the moisture. This makes it swell and then bulge.

If the same piece of wood is placed in a dry environment, the opposite will occur. It will release moisture to the environment, thereby, cupping inwards. Engineered timber flooring is less likely to be affected by varying moisture levels than solid wooden floors. This makes engineered floors a more durable choice.

Advantages of Engineered Floors over Solid Floors

  • They have an efficient application of the top-layer woods (Oaks, Teaks, and Walnuts) than the solid floors.
  • They offer more strength and stability than solid floors. This minimises damage.
  • Engineered floors offer a wider board surface which is easily attainable due to the inherent stability of multi-plywood timber base.
  • They are more preferred in the pre-finished hard-to-achieve colour design codes.
  • Engineered timber flooring has an extremely low VOC discharge once installed.
  • Floors have a shorter installation time due as they are pre-finished products.
  • They are easily integrated with in-slab and other sub-floor heating systems.
  • They are usually thicker and better layered than solid floors.
  • They can be easily installed as floating floors on a suitable subfloor. This is unlike solid boards which normally require top nailing if the solid boards are more than 130mm wide.

Why engineered timber flooring?

An engineered floor is a floor board made of multiple pieces of timber. Up to 12 cut layers of hardwood timber which are placed press adhesive fixed in different directions. It creates a stronger and more stable wood floor. When compared to solid timber floorboards, it is tough to detect the difference. However, the superior engineered wide board flooring eliminates “cupping” and warping, problems that can occur in solid timber flooring, especially in wider widths.

Engineered timber flooring technology has developed significantly over the past 25 years and has dramatically improved the quality of flooring products in that time.

Is oak flooring suitable for a kitchen?

Yes, it is very comfortable to stand on oak flooring and is easy to maintain. Place area rugs or mats in front of the kitchen appliances and sink to protect your oak floor from a lot of traffic, water spillages, dropping food, grease, and everything else that can cause premature wear of your kitchen floor. Do not drag furniture across the floor. Use felt pads on chair and furniture legs. Avoid moisture on the floor.

For maintenance, we recommend regular sweeping and damp mopping as dirt and grit can act as sandpaper and damage your finish.

Once a year or more frequently if there is a lot of traffic and the floor starts to show some signs of wear, you will want to refurbish you oak floor according to the maintenance guidelines supplied. It will reinforce the protective layer and will restore the original appearance.

Are oak floors suitable for bathrooms?

We do not recommend laying oak floorboards in bathrooms due to high risk of spillage.

Is oak flooring affected by changes in moisture and temperature?

Just like other wood products, oak floorboard is subject to the phenomenon of expansion and shrinking in response to climactic changes. Extreme environmental conditions, meaning exposure to extreme heat, moisture or dryness (40 - 60%) can cause boards to shrink. When humidity levels are higher, oak flooring can expand. With proper acclimation, installation, and maintenance, expansion and shrinkage of your oak floor will be less noticeable.

Should I be installing the Floating Floors or the glue down floors?

The shape of the subfloor is usually the deciding factor. If the subfloor is in a bad condition with many cracks, old vinyl tiles or sheet vinyl, grimy or dirty the use of floating floors would be recommended.

The use of a floating floor over weak subfloors avoids the need to prepare costly subfloors as long as the floor is reasonably level. Also, if there is any risk of moisture migration from a concrete slab than a floating floor correctly installed with a moisture barrier is also recommended.

The glue down oak floors can be used over any subfloors (wood or concrete) which are dry, clean and free of dirt, grease, wax or anything that would hinder a good bond and where cracks have been filled.

A floating floor is one that is not attached to the substrate. Each plank is secured to those adjoining so that the floor system functions as a single unit instead of as a series of individual pieces. It means that visible signs of expansion and shrinking, standard to any wood product, are severely reduced. Installation of a floating floor is easier, faster and cheaper.

Will my pets damage my oak floor?

You are the best judge of your pet’s behaviour. You know what the habits, activities, and potentially destructive actions of your pet better than anyone else. Oak floors are coated with a finish that could be scratched by the claws of cats and dogs running on the floor. Because our products are matt-finished, the surface scratches will much less apparent than higher gloss hardwood floor. Keeping your pet’s nails trimmed will help keep your floors looking beautiful.

Does oak flooring promote a healthy indoor environment?

Yes! Bacteria, dust and dirt, do not embed themselves in oak flooring as they do in other flooring options especially carpets. Simple regular maintenance, such as dust mopping, sweeping or vacuuming keeps cork floors sanitary.

Will my oak floor fade in the light?

Yes, exposure to UV light as well as sunlight will cause colour variations to oak. It is considered normal and not a manufacturing defect.

Area rugs and large furniture will block light exposure and cause uneven coloration. In ensuring the minimization of floor furnishings, floor coverings should be moved periodically. Covering large exposed windows will help as well.

How much engineered timber flooring do I need to allow for waste?

It depends on the complexity of the layout and the skills of the installer.

Measure the length and width of the individual room. Multiply the length by the width of each single room to get the total square meters/footage.

Waste and cuts depending on your skills level and the layout of the area. Diagonal layouts or floors with curved walls may require more careful calculation of the quantity required. As a rule, add 5-10% of the total square meters/footage to cover the waste factor.

How do I replace a damaged tile in my engineered timber flooring?

When using a floating installation which does not require any glue, you can just remove the damaged piece and install a new one. It is one of the many advantages of floating installation methods. When replacing glue-down flooring, it is a very different and more complicated situation.

You should contact your manufacturer or a professional installer for further instructions on installing engineered timber flooring based on your individual situation.

BEFORE INSTALLATION

Transport, Storage and Acclimatization

  • Cartons containing Aspire Oak boards should only be carried and stored in a horizontal position.
  • Before installation, it is recommended that the adhesive and package boards be kept in a dry, well-ventilated area at the job site for at least 48 hours so that the flooring acclimatises properly.
  • Make sure you remove floorboards from their packaging just before the installation begins.
  • During storage and installation, the temperature and humidity of the work area should be maintained at the levels expected when the building is fully occupied. The best conditions for laying timber boards fall within a temperature range of 18°C-28°C and a relative humidity range of 35%-65%. To reach these requirements, you can use air conditioning or heating systems for the required amount of time before work starts.
  • Aspire Oak floors are made using natural materials, and shade variation is an attractive and inherent characteristic. To get the best possible look, shuffle the panels before installation.

Site Inspection

Before installation, perform a visual inspection of the boards in bright daylight and check for visible signs of damage. Also, ensure that the subfloor and site conditions meet the provided specifications.

Laying

  • Since Aspire Oak floors are completely natural products, each plank is likely to have its pattern and shade. Before installation, arrange the planks in different ways to get the best possible blend of colours.
  • In efforts o make the flooring look attractive, it is recommendable that the planks be laid in the direction of light entering the room.
  • For timber subfloor, we recommend putting Aspire wooden floors across the existing floorboard for added support.

Expansion Gaps

  • Since 15mm Aspire Oak boards are designed to be installed as “floating floors”, they need not be attached to the subfloor.
  • In making efforts to allow movement of the floor, the skirting boards cannot be pressed down. An expansion gap of at least 10mm should be provided between the flooring and fixed objects such as walls.
  • Additional development gaps may be required if the floor area is larger than 100 m² or has dimensions greater than 10m in either direction. Transitional areas between two rooms and asymmetrical floors may also require additional expansion gaps.

Subfloor Preparation For Floating Floors

  • Engineered oak floorboards can be installed in almost all commercial and residential areas except saunas, bathrooms, and other persistently wet rooms. It can be fitted on most hard surfaces such as wood flooring, resilient floor coverings and ceramic tile. However, carpets and other soft subfloors must be removed.
  • The subfloor must be flat and dry, and should not have variations exceeding 3mm in 2m. All types of wooden, concrete and ceramic surfaces must be completely dry. Concrete slabs should be tested to make sure that the amount of moisture falls within acceptable limits, preferably by Australian Standards.
  • Always use a PE moisture barrier film with a thickness of at least 0.2mm, before installing the flooring. On the basement and ground floors, use at least two layers for improved moisture protection.

Subfloor Preparation For Glue-down floors

  • Engineered oak floorboards can also be glued down to the subfloor. The key to a successful installation is the formation of a strong bond between the Aspire flooring and the subfloor. For one to achieve this bond, the surface has to be prepared properly. It must be clean and devoid of grease, wax, oil, dirt, latex compounds, curing compounds, dust, paint, or any other contaminant. The presence of any foreign material could weaken the bond.
  • The method used to prepare properly a subfloor depends entirely on the nature of the surface. Avoid taking shortcuts while preparing the subfloor as it could lead to future problems. Always follow the instructions of the glue manufacturer regarding consumption, drying time, glue comb, etc. Such information may be found on the container or the manufacturer’s website.

Installing Aspire Floors over Heated Subfloors

The working conditions of a heated subfloor depend on the nature of the subfloor and the heating system used. All norms and rules concerning installation must be followed strictly during the construction phase to avoid problems with durability and functioning.

The heated subfloor has to be dried by following the documented protocol and turning the heat on/off. After that, the “heating phase” begins. For concrete subfloors, the heating period begins not before 21 days of the complete curing of the substrate. This phase starts with a running temperature of 25°C during three days. The subfloor should be cured for at least 60-90 days.

The temperature should be increased every day till the maximum manufacturer-recommended temperature is reached. This value should be kept for a minimum of 72 hours and sustained for 5-7 days without turning the system off. The temperature is then decreased each day gradually till it reaches 18°C on the surface.

The temperature of the surface should not go above 18°C during installation, and for floating floors, this value should be maintained for at least three days after the installation is finished. The subfloor surface temperature should then be increased slowly to a maximum of 28°C.

Keep in mind that mats or rugs placed on the floor could accumulate heat and cause the floor surface temperature to go over the maximum recommended surface temperature.

Radiant-Heated Subfloors

For engineered oak floorboards, the temperature of the subfloor surface must not be more than 28°C. For more information, refer the instructions provided by the subfloor heating system contractor/manufacturer, or contact the supplier.

Keep in mind that mats or rugs placed on the floor could accumulate heat and cause the floor surface temperature to go over the maximum recommended surface temperature.

INSTALLATION GUIDE

Installing as a Floating Floor

NOTE: IT IS IMPORTANT THAT YOU MAKE USE OF A PROFESSIONAL FLOOR FITTER IN YOUR FLOOR INSTALLATION. AT ASPIRE FLOORS, WE PROVIDE HIGH-QUALITY INSTALLATION SERVICES WITH A 5-YEAR LABOUR WARRANTY.

Of all engineered floor installation methods, floating floor is the most preferred for these reasons:

  • Floating requires an underlay that is more cost effective than the adhesive needed in the glue-down method.
  • Floating is easy to install and requires little time.
  • It offers one the chance to apply various underlays for a variety of needs e.g. sound proofing and moisture barring.


During installation by the floating method, it is important always to use appropriate underlays on the sub-floors like concrete, timber-joints, etc. The underlay can have an equalising function together with either moisture-isolating PE-foam (2mm) or soundproofing underlay (2-10mm thickness). Always start the installation against a long, straight wall. Place the first-floor board with the groove against the wall. Place an 11mm spacer between the wall and the board to keep an expansion seam open. This expansion seam should be observed all around the room, including around doorways, pipes etc. The spacers should be removed 24 hours after completion.

Dab water resistant PVA wood on the tongue of the second-floor board. Before the glue dries, be sure to wipe and residue with a dry cloth. You can then align the second-floor board in the extension of the first and slide the short-sided tongue and groove together. Tap the second venire onto the initial one, making sure all the seams are completely sealed. The last floor board of the original course must be cut to the required size. Complete the row with the cut part, and make sure to begin the second row with the remnant part from the first row. The short pieces of two edging rows need to be distanced as far as they can go. An approximate 50cm space is necessary for the construction of a solid floor.

Ensure that the first two rows are perpendicular and properly connected. You can then maintain a tightly strung cord above the seam to confirm whether the floor is straight. Carefully join the short and long edges together with the use of a tapping block and a mallet. You should never hit the tongue or the groove directly with the mallet. The final row can be installed by sawing the floorboards lengthwise. You can then use a crowbar to slot the last row into position.

Installing as a Fixed Floor

NOTE: ALWAYS USE A PROFESSIONAL FLOOR FITTER WHEN INSTALLING YOUR FLOOR. AT ASPIRE FLOORS, WE OFFER INSTALLATION SERVICES ALONGSIDE A 5-YEAR LABOUR WARRANTY.

Prior to the installation process, ensure that the sub-floor is stable, smooth and level. The Glue-down installation method is superior to the floating floor method, in situations where the sub-floor is imperfect as the boards cannot move. When a sub floor is uneven and you have used the floating floor installation, you may see and hear the floor moving slightly.

I. Concrete/Cemented sub-floors

Before installation, examine the humidity and the levelling of the sub-floor. If you have unlevelled floors, level the uneven floor with a self-levelling cement compound. If the sub-floor has pores, then it is important to apply a layer of primer like Sika Primer MB. Once this is done, you can then proceed to mounting the floorboards to the sub-floor. Always ask for guidance from our sales personnel, whenever you need advice on installation.

II. Other types of Sub-floors

Subfloors can be made of bearers and beams, plywood and particle boards. Engineered floorboards (greater than 15mm thickness) can be secret nailed and glued down to these surfaces. Glue should be applied evenly to the entire underside of the board. It is best to use a Sikabond Glue. To avoid staining ensure you don’t get glue on either the tongue or the groove. While glueing, secret-nail down onto the sides of the boards spacing the nails out evenly. The nail spacing technique will help prevent the boards from sliding while the glue is drying.

General Precautions and Maintenance tips:

  • Fit protective pads on all furniture legs to minimise damage to the floor; use preventive mats for furniture with castors so as to protect the floor surfaces.
  • Carry out a routine clean up (sweeping/vacuuming) of the heavily congested sections of the floor using a soft bristle head.
  • Protect the natural wood floors from direct sunlight to avoid fading, and darkening; this is achieved by routinely changing the rugs, and using curtains too.
  • Use of trapping mats at all outward openings to reduce sand, the grit that could be blown in. The precaution will reduce wearing and scratching of the floors. Use small rugs and hall runners in wiping the dirt to prevent scratching.
  • Employ the use of spray mops, light-damp mops, designed (either oiled or lacquered finish) for wood cleaning for every 15-30 days. Avoid using Steam mops.
  • Always maintain an ambient temperature level to avoid gaps from extreme drying or cupping due to moisture increased levels.
  • It is possible to conduct repairs on the damaged floorboards with minimal use of sanding.

Cleaning guide for lacquered floors

The durability of Oak floor boards will depend on how you keep them clean. To keep grit and surface dust to a minimum it’s best to do a routine vacuum clean. In instances of tough stains, you can damp clean the floor using a well-rung mop. A PH neutral floor cleaner will help in wiping the tougher stains clean.

You should avoid cleaning wood floors using usual household detergents, polishes, wax and etc. If used, these products can scratch the floor surface, making the floor extremely slippery, and thereby dangerous. Wax and some other household products could leave a thin layer of coating on the wood floors; which could become problematic if you want to recoat of the floor with time. The use Methylated spirits, kerosene, or any other product with petroleum distillate is also not recommended. These products degrade the floor coating and make it appear dull.

Cleaning guide for oiled floors

When it comes to cleaning Oiled Floors, we recommend the Lalegno Maintenance Kit. The Lalegno product keeps pre-oiled floors in perfect condition. A single Lalegno kit contains three products:

  • The Lios Soft Balm (a cleaning soap)
  • The Lios Conditioner (an oil conditioner)
  • A handy microfiber floor cloth (for wipe-cleaning)

These products can be applied to an oiled wood floor in no time. They were manufactured with the help of Chimiver, an Italian expert in production of products used in installation and care for wooden floors. They form an efficient and safe way to maintain oiled wooden floors.

Protecting Oiled Floors just after Installation

Lalegno pre-oiled floors will need an extra protective layer just after their installation. This will seal the wood pores and prevent dirt from penetrating. We recommend the Lios Oil Conditioner contained in the Maintenance Kit.

About Regular Cleaning

Dust and dirt can be vacuumed, but you will want to wet-clean the floor from time to time. When wet-cleaning, don’t use water alone as the cleaning agent. This is because water depletes all the applied oil from the wood. With time, your floor will dry out completely allowing dirt to penetrate the pores in the wood and deep into the timber. Always clean your wooden floor using customised cleaning products; that are well adapted to oiled wooden flooring. These special cleaning agents will nourish and seal the wood. We recommend Lios Soft Balm when mopping your oiled floor. You can use it every 2-4 weeks.